
Healthy Body Homeschool Unit Study: Helping My Strong-Willed 4-Year-Old Build Healthy Habits
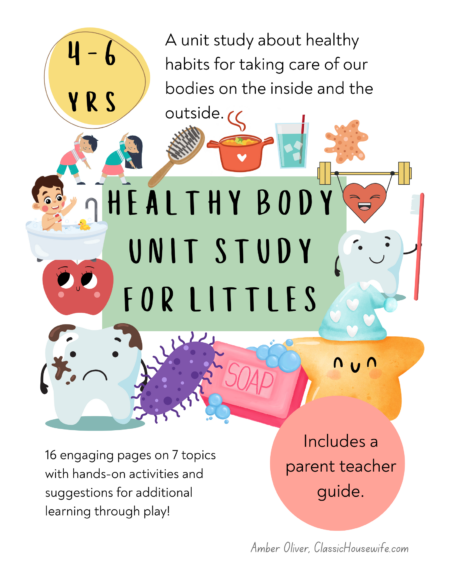
Healthy Habits, Healthy Body If you’ve ever tried to convince a very opinionated 4-year-old to brush their teeth, wash their hands, or eat a vegetable — you already know the struggle. I know it well, too. (And this is why we now have the Healthy Body Homeschool Unit Study.) Lil Miss Mouse (our sweet and spunky 4-year-old) is full of life, imagination, and a strong will. And while I absolutely love her firecracker spirit, I’ll be honest — it has made some things really challenging. Like… convincing her to brush her teeth without a fight. Or getting her to wash her hands after using the bathroom without a dramatic sigh. Or asking her to eat something green without the dreaded, “I don’t like that.” I get it. To her, brushing her teeth just feels like an annoying task I was forcing on her. Washing her hands is boring. Eating healthy isn’t as fun as eating dessert. But I worry about her health when all she wants is junk and she resists brushing her teeth, ya know? And honestly? I don’t want healthy habits to feel like a power struggle — I want them to feel natural for her. Something she actually wants to do. So… I got an idea. What If I Made Learning About Good Habits for a Healthy Body FUN? One night I had a thought: What if I approached this differently? What if I turned healthy habits into something she could explore, play with, and learn about in a hands-on way — instead of something I just nagged her about every day? I know that kids learn better and remember more when they learn through playing. I decided to create a few little activities to help her understand why we brush our teeth, wash our hands, eat healthy, and stay active. But then… I did the ADHD thing and I researched and hyperfocused and next thing I knew, I was elbows deep in a unit study. The more I brainstormed, the more I realized there was SO much I wanted to teach her about taking care of her body — not just hygiene, but also nutrition, exercise, and rest. And the more excited I got, the more I kept adding to it. And then, BOOM!, I had a fun, full, (and fabulous) Healthy Body Homeschool Unit Study. And honestly? It turned out way better than I expected. The Best Part About the Healthy Body Unit Study – She Likes It When we sat down at the table for the first lesson of the healthy body unit study, Lil Miss Mouse was immediately drawn to the pages on brushing teeth. We talked about germs (bacteria,) cavities, and brushing teeth before diving into the activities. And you know what? She had fun! She drew and erased and cleaned food bits off the teeth at least a dozen times. She did the same with the flossing activity. For each, I demonstrated the correct technique and had her practice. The next day we did a lesson about healthy foods. We sorted foods into “more healthy” and “less healthy” categories. For many reasons, we are just sorting foods into things we should eat more often and foods we should eat less often. (We do have things we avoid altogether, like artificial food dyes, but that’s a whole different lesson.) After that, she started pointing out healthy choices during meals or asking “mom, is this more healthy or less healthy?” Making wise food choices became just a little bit easier. Funny: when I asked her to circle all the ways she likes to play and move on the exercise page, she circled all of them. Every single one. (She hasn’t even ever played tennis!) But I’m not surprised because this girl loves to move. Inspired by that activity, I decided to get a kite from Dollar Tree and teach her how to fly a kite. We have had great weather for it, she loves it, and now we have one more way to get fresh air and exercise together. =) We’ve Still Got a Ways to Go, But We’ve Made a Good Start Now don’t get me wrong — we didn’t magically solve everything overnight. There are still moments when she sighs dramatically about stopping to wash her hands. But good habits take TIME. She understands why we do these things. She knows that brushing keeps her teeth healthy, eating fruits and veggies makes her body strong, and washing her hands keeps her from getting sick. And while we’re still working toward consistency, I can tell you this: And honestly? That’s more than I hoped for when we started. And Now It’s a FULL Healthy Body Homeschool Unit Study (and It’s in the Shop!) I ended up turning everything we did — all the lessons, hands-on activities, and printable worksheets — into a Healthy Body Homeschool Unit Study for kids ages 4-6 complete with a parent/teacher guide. SIXTEEN pages of unit study, SIX pages of parent guide, and about two weeks’ worth of lessons (should you choose to space it out that much.) It covers things like: And also? It’s just… fun. Short lessons. No lengthey lectures. Just play-based learning that helps kids understand why their health matters. It’s On Sale Through the End of March Since I know so many other homeschool moms face the exact same struggles I did, I put the Healthy Body Unit Study up in my shop — and it’s on sale through the end of March. If you want to check it out, you can grab it here: Healthy Body Unit Study And if you do end up using it with your kids, please tag me on Instagram or Facebook [@ClassicHousewife] — I’d love to see it in action in your home. It’s nice how something that started out as me trying to solve a problem turned into some way that I can help other families do the same. Isn’t that one of the good things
Countdown to Thanksgiving!
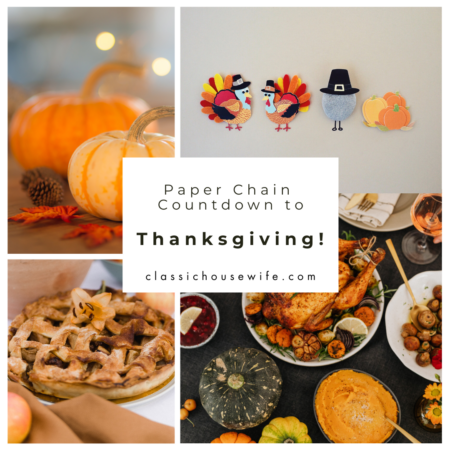
The last two months of the year are my FAVORITE months of the whole entire year! Thanksgiving, Advent, Christmas… not to mention sweater weather, fireplaces, hot chocolate, and fuzzy socks. It’s the coziest season of all. Now that Lil’ Miss Mouse is 4, she’s participating in traditions that she will possibly remember into her adulthood. But also, if you’ve ever had a 4 year old you’ll understand, she’s in that impatient “when will it get here” but “I can’t read a calendar yet” phase. *So fun! Old School Paper Chains I remember making lots of construction paper chains when we were kids. (Back in the “good ol days.”) I continued the tradition with my big kids because it’s a great visual for kids who can’t read yet – and now it’s Lil’ Miss Mouse’s turn. On November 1st we made a chain to count down to Thanksgiving and she’s been taking off one link each day. Of course, you don’t have to countdown the entire month – you might prefer to do a smaller time frame (only us crazies do the entire month.) 😉 Oh, but you might notice that my countdowns count.. up? I find that it’s easier at this age. We took off the “7” chain link today on the 7th. It “maths” well for kids who aren’t proficient at counting backward. The chain getting shorter is the visual countdown, not the numbers on the links. And While We Count Down… Meanwhile, there are a lot of days between now and Thanksgiving. What else shall we do? This is also my favorite time of year for baking. It doesn’t get too hot in the kitchen, comfort foods are perfect for the season, and well, I just like carbs. We have been shopping for supplies and we have plans to make cranberry orange scones, cranberry nut bread, and more. Bake, bake, bake! Lil Miss Mouse is an eager apprentice, and while she helps she’s practicing hand/eye coordination, following steps, counting, and more. Not to mention that she will gain a confidence in the kitchen as she grows that is worth even more. Count Down With Me I’ve uploaded a printable countdown set for you – free of charge – to count down the days with your own kids. It’s flexible and can be used any year for any length of time. You can assemble your chain to count up or down, or however. Click here to download the free Thanksgiving Countdown Paper Chain. Share your pictures with me and tag me on IG if you’d like, @classichousewife, I’d love to see how you use them. And meanwhile, look for other ways to enjoy the season, too. Baking, giving, journaling, whatever! God bless!
A free word kit for the most frequently used letters.
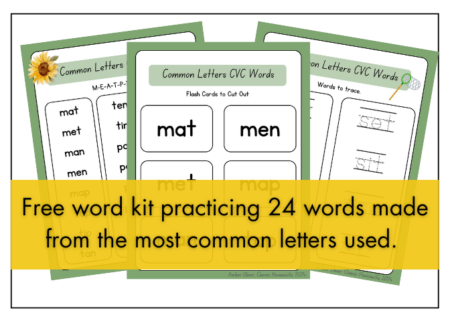
In my last post about teaching phonics to preschoolers, I mentioned that one approach is starting with most commonly used letters in the alphabet. Which letters are the most frequently used you might ask? I came up with the mnemonic MEATPINS to help you remember. The most frequent letters are a, e, i, m, n, p, s, and t — and the only word I could come up with is the nonsense word “meatpins.” (I welcome other suggestions.) ;p Anywho,… back to the matter at hand: phonics. I naturally started teaching Lil Miss Mouse the letters m and d first because of “mom” and “dad” and also because her name begins with an M. After I started teaching her some letters I found this “common letters” approach and it just made sense. I recently realized just last week that she’s been exposed to the words “mom” and “dad” so much, along with hers and her siblings’ names, that she can now recognize each of them consistently. She surprised me though when she also recognized the words “dog” and “cat!” It’s time to start working on phonics more. Now that she’s learning to recognize words, pretending to read, asking how to spell words so she can write them, and pointing out letters on signs and billboards, it’s time to give her more opportunities to expand her skills. Remember: without pressure to perform though — she just turned four and there’s no rush. She gets to learn at her pace. To this end, I’ve made a little CVC word kit using these most frequently used letters… and what’s more, I’m putting it in the store for free so you can you use it, too. In this kit is a word list in two options (one with an ant and one with a butterfly depending on what your child likes,) some flash cards to cut out, and some tracing words to trace. You can laminate the flash cards and reuse them again and again. You could even laminate the tracing sheets and use dry erase markers with them. As I suggested in my previous post, combine these with physical ABC letter manipulatives (wooden letters, magnetic letters, scrabble tiles) for a more hands on approach and let your kids build the words they’re learning before trying to write them. Writing can sometimes be frustrating for young children because their hands really haven’t developed enough to do it as well as they would like. The free kit is in the shop. You’ll find the free kit in my shop, here. Just add to cart, checkout (for free) and download. Let me know if you have issues. Enjoy your word kit and leave some feedback on it, if you will. Tell me what else you would like to see in the shop, too. I have a running list of about a dozen projects I want to make in Canva, more ideas are welcome. It’s just a matter of choosing which one to work on next. 😉 Happy teaching!